MCPO (Model Context Protocol OpenAPI Proxy) is a tool that exposes MCP server tools as OpenAPI endpoints, making them easy to integrate with platforms like Open WebUI. I previously wrote a detailed post on manual MCPO installation and configuration: 🚀 Installing and Configuring MCPO for Open WebUI – A Complete Guide. However, deploying MCPO with Coolify is much easier to implement and maintain, thanks to automated builds, environment management, and a streamlined workflow.
Table of Contents
- What is Coolify?
- Prerequisites
- Step 1: Prepare Your Dockerfile
- Step 2: Add Your Configuration
- Step 3: Push to GitHub
- Step 4: Deploy on Coolify
- Step 5: Access Your App
- Step 6: Project’s Github Repo
- Deploying Any App with a Dockerfile in Coolify
What is Coolify?
Coolify is an open-source self-hosted platform for deploying and managing web applications, databases, and services. It provides a user-friendly interface for automated deployments from Git repositories, supports Dockerfile-based builds, and handles networking, SSL, and environment variables out of the box.
I write a blog post explaining how to install it here: https://cfocoder.com/installing-coolify-on-an-oracle-arm-ubuntu-server/
Why use Coolify instead of manual deployment with uvx?
- Automation: Coolify automatically builds and deploys your app from GitHub, reducing manual steps.
- Environment Management: Easily set environment variables and secrets securely.
- Networking: Handles domain, SSL, and port mapping for you.
- Rollback & Updates: Supports rolling updates and easy redeploys.
- Multi-app Support: Manage multiple apps and services from one dashboard.
Manual deployment with uvx requires you to build, run, and manage containers and networking yourself. Coolify streamlines the process and is ideal for production and team workflows.
Prerequisites
- A GitHub repository containing your app and a valid
Dockerfile. - Access to a Coolify instance.
Step 1: Prepare Your Dockerfile
For MCPO, use a Dockerfile like this:
# Use lightweight Python 3.11
FROM python:3.11

# Install git, curl and other essentials (including gettext for envsubst)
RUN apt-get update && apt-get install -y git curl gettext && \
    rm -rf /var/lib/apt/lists/*

# Install Node.js 20.x and npm for Node-based MCP tools (e.g., Context7, BrightData)
RUN curl -fsSL https://deb.nodesource.com/setup_20.x | bash - && apt-get install -y nodejs

# Install uv (uvx)
RUN curl -LsSf https://astral.sh/uv/install.sh | sh
ENV PATH="/root/.local/bin:${PATH}"

# Set working directory
WORKDIR /app

# Clone MCPO repo locally
RUN git clone https://github.com/open-webui/mcpo.git /app/open-webui/mcpo

# Copy MCP configuration and startup script
COPY mcp_config.json /app/mcp_config.json
COPY start.sh /app/start.sh

# Make startup script executable
RUN chmod +x /app/start.sh

# Expose the port MCPO will run on
EXPOSE 8002

# Start MCPO using the startup script
CMD ["/app/start.sh"]
Step 2: Add Your Configuration
Your mcp_config.json file defines which MCP server tools you want to add to MCPO. Each entry in the mcpServers section specifies a tool, the command to run it, and any arguments or options. This is how you customize MCPO to expose the tools you need.
For details on the config file structure and MCP tool definitions, see the official documentation: Add new MCP servers from JSON configuration | MCP Router
Include your mcp_config.json in the repo. Example:
{
  "mcpServers": {
    "time": {
      "command": "uvx",
      "args": ["mcp-server-time", "--local-timezone=America/New_York"]
    }
  }
}
Step 3: Push to GitHub
Commit and push your changes to your GitHub repository.
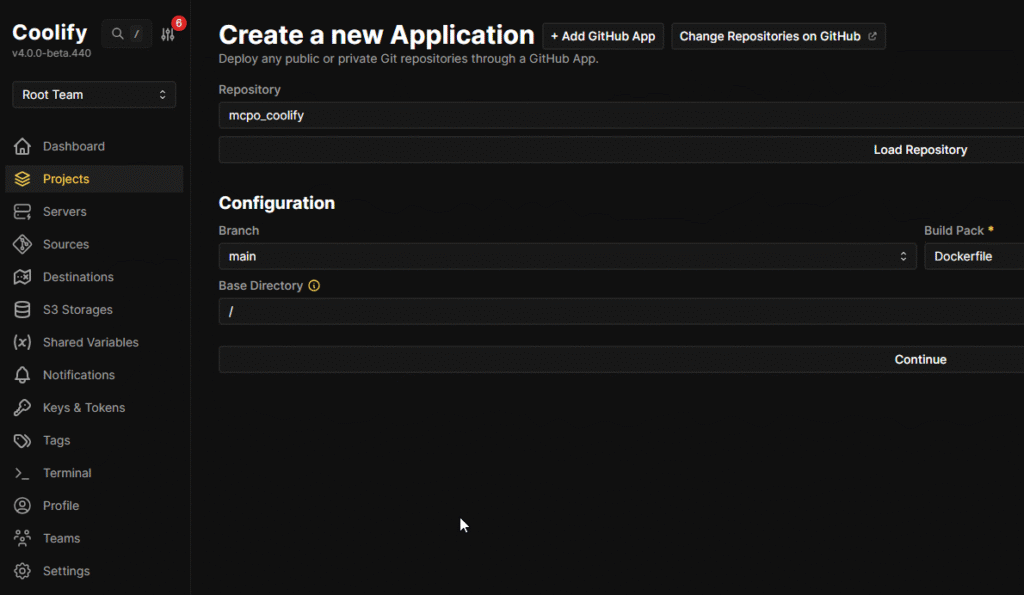
Step 4: Deploy on Coolify
- In Coolify, create a new Web App.
- Connect your GitHub repo.
- Select the branch and set the build method to
Dockerfile. - Set environment variables if needed (e.g., API keys).
- Deploy.
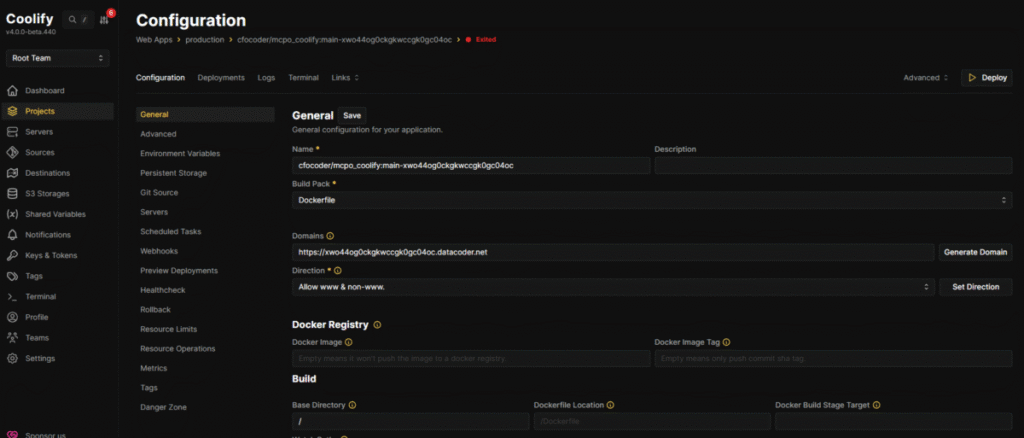
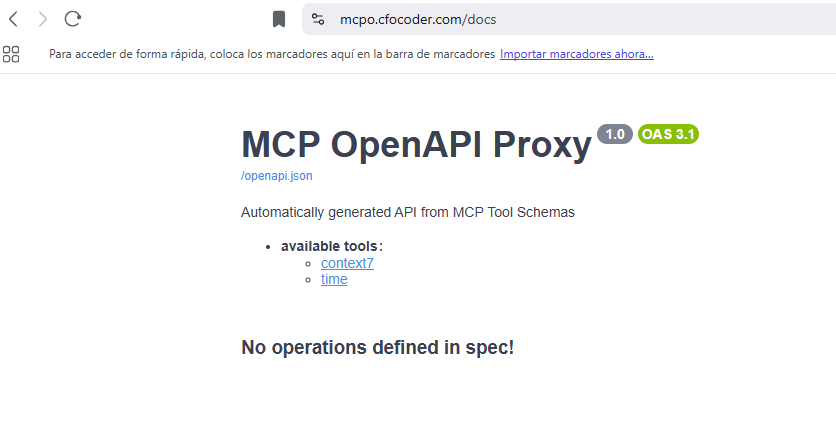
Step 5: Access Your App
Once deployed, Coolify will provide a public URL. For MCPO, you’ll see the OpenAPI Proxy UI and endpoints.
Step 6: Project’s Github Repo
You can find my current setup in the Github Repo of the project, which includes my current MCP servers along with the startup script and the Dockerfile:
https://github.com/cfocoder/mcpo_coolify
Deploying Any App with a Dockerfile in Coolify
- Add a Dockerfile to your app’s repository.
- Push your code to GitHub.
- In Coolify, create a new Web App and connect your repo.
- Select the branch and set build method to Dockerfile.
- Set environment variables and secrets as needed.
- Deploy.
Coolify will build and run your app automatically. For most web apps, this is the simplest and most reliable way to deploy from source.