Connecting to Amazon’s EC2 Virtual Machine from Linux is easy, as all we have to do is download the PEM key file into the project folder, change the permissions with the CHMOD command as in the example below, and then connect to the virtual machine from the terminal using something like: “ssh -i “awskeypairfile.pem” [email protected]”
chmod 400 awskeypairfile.pem
However, if we are using Linux with WSL, the CHMOD command won’t work unless we have the project files in the Ubuntu file system. If we try to use the CHMOD command from WSL in the mounted “c” drive (/mnt/c/Users/myusername/), this command won’t work and then we won’t be able to change the file permissions.
So, because of this issue, we have to change the permissions of the file in Windows from the PowerShell terminal using the following series of commands:
# Set the path of the file to change permissions into
$path = ".\awskeypair.pem"
# Reset to remove explicit permissions
icacls.exe $path /reset
# Give current user explicit read-permission
icacls.exe $path /GRANT:R "$($env:USERNAME):(R)"
# Disable inheritance and remove inherited permissions
icacls.exe $path /inheritance:r
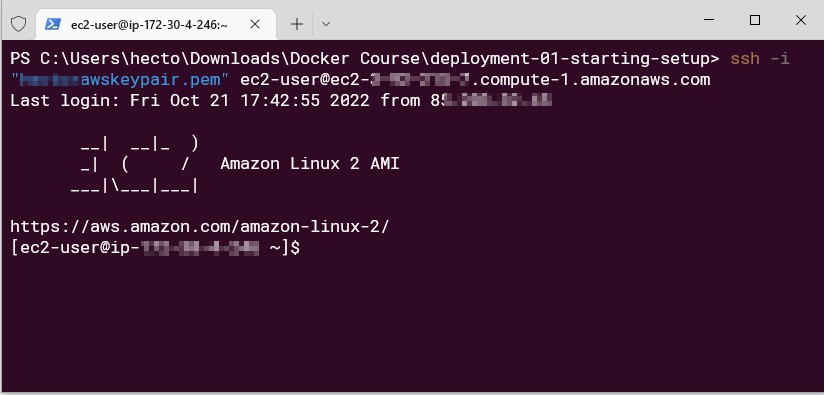
Once the permissions of the PEM key file are changed, then we can connect to the Amazon’s remote EC2 Virtual Machine from PowerShell just like we do it from Ubuntu